Create a kubernetes cluster using the CLI
To create a cluster, you have two options either a Lite cluster or a Standard one.
A Lite cluster is a free cluster comes with a single worker node to deploy container pods upon. A worker node is the compute host, typically a virtual machine, that your apps run on. Go to Step Create a Lite cluster
A Standard cluster is a production-ready cluster with as many worker nodes as you want. A Standard cluster requires requires a IBM Cloud Infrastructure account. Go to Step Create a Standard cluster.
Create a Lite cluster
Create your Lite cluster.
ibmcloud ks cluster-create --name <your-cluster-name>Once the cluster reaches the deployed state you can provision pods, but they will be enqueued until the cluster’s pods are finished provisioning. Note that it takes up to 15 minutes for the worker node machine to be ordered and for the cluster to be set up and provisioned.
Verify that the creation of the cluster was requested.
ibmcloud ks clustersCheck the status of the worker node(s).
ibmcloud ks workers <cluster_name_or_id>
Create a Standard cluster
Set Infrastructure credentials
ibmcloud ks credentials-set --infrastructure-username <YOUR-USER-NAME> --infrastructure-api-key <YOUR-API-KEY>Review the data centers that are available.
ibmcloud ks zonesOutput for US South:
 dal10
 dal12
Review the machine types available in the data center
ibmcloud ks machine-types <datacenter>Output for fra02:
 Name                      Cores   Memory   Network Speed   OS             Server Type   Storage   Secondary Storage   Trustable
 u2c.2x4                   2       4GB      1000Mbps        UBUNTU_16_64   virtual       25GB      100GB               false
 ms2c.4x32.1.9tb.ssd       4       32GB     10000Mbps       UBUNTU_16_64   physical      2000GB    960GB               false
 ms2c.16x64.1.9tb.ssd      16      64GB     10000Mbps       UBUNTU_16_64   physical      2000GB    960GB               true
 ms2c.28x256.3.8tb.ssd     28      256GB    10000Mbps       UBUNTU_16_64   physical      2000GB    1920GB              true
 ms2c.28x512.4x3.8tb.ssd   28      512GB    10000Mbps       UBUNTU_16_64   physical      2000GB    1920GB              true
 mr1c.28x512               28      512GB    10000Mbps       UBUNTU_16_64   physical      2000GB    960GB               true
 mg1c.16x128               16      128GB    10000Mbps       UBUNTU_16_64   physical      2000GB    960GB               false
 mg1c.28x256               28      256GB    10000Mbps       UBUNTU_16_64   physical      2000GB    960GB               false
 md1c.16x64.4x4tb          16      64GB     10000Mbps       UBUNTU_16_64   physical      2000GB    8000GB              true
 md1c.28x512.4x4tb         28      512GB    10000Mbps       UBUNTU_16_64   physical      2000GB    8000GB              true
 mb2c.4x32                 4       32GB     10000Mbps       UBUNTU_16_64   physical      2000GB    2000GB              false
 mb1c.16x64                16      64GB     10000Mbps       UBUNTU_16_64   physical      2000GB    960GB               true
 c2c.16x16                 16      16GB     1000Mbps        UBUNTU_16_64   virtual       25GB      100GB               false
 c2c.16x32                 16      32GB     1000Mbps        UBUNTU_16_64   virtual       25GB      100GB               false
 c2c.32x32                 32      32GB     1000Mbps        UBUNTU_16_64   virtual       25GB      100GB               false
 c2c.32x64                 32      64GB     1000Mbps        UBUNTU_16_64   virtual       25GB      100GB               false
 b2c.4x16                  4       16GB     1000Mbps        UBUNTU_16_64   virtual       25GB      100GB               false
 b2c.8x32                  8       32GB     1000Mbps        UBUNTU_16_64   virtual       25GB      100GB               false
 b2c.16x64                 16      64GB     1000Mbps        UBUNTU_16_64   virtual       25GB      100GB               false
 b2c.32x128                32      128GB    1000Mbps        UBUNTU_16_64   virtual       25GB      100GB               false
 b2c.56x242                56      242GB    1000Mbps        UBUNTU_16_64   virtual       25GB      100GB               false
Get the available VLANs in your account
ibmcloud ks vlans <datacenter>Output for fra02:
 ID        Name   Number   Type      Router         Supports Virtual Workers
 2438033          1817     private   bcr01a.fra02   true
 2438031          1898     public    fcr01a.fra02   true
When you create a Kube cluster with no vlans in create command, those should get created for you.
Create cluster
 ibmcloud ks cluster-create \
   --name <cluster-name> \
   --zone <zone> \
   --workers <number-of-workers> \
   --machine-type <machine-type> \
   --hardware shared \
   --public-vlan <public-vlan-id> \
   --private-vlan <private-vlan-id>
For example:
 ibmcloud ks cluster-create \
   --name my-cluster \
   --zone fra02 \
   --workers 1 \
   --machine-type u2c.2x4 \
   --hardware shared \
   --public-vlan 2438031 \
   --private-vlan 2438033
The cluster creation can be scripted. A yml sample is provided in kubernetes/cluster-create.yml once you have donwloaded the application code in Step 5.
Verify that the creation of the cluster was requested.
ibmcloud ks clustersCheck the status of the worker node(s).
ibmcloud ks workers <cluster_name_or_id>The cluster creation process is as follow:
| State | Status | | ----------------- | -------------------------------------------- | | provision_pending | Waiting for master to be deployed | | provisioning | Provisioning in progress | | deploying | Starting worker deployment | | deploying | Installing Docker Runtime | | deploying | Configuring Kubectl CLI | | deploying | Preparing Worker for Calico Networking Setup | | deploying | Starting Kube Worker Services | | deploying | Configuring Calico-Workers | | deployed | Deploying | | deployed | Deploy Automation Successful | | normal | Ready |
Connect to the Kubernetes cluster
Connect to the Kubernetes Cluster. Use the kubectl command to check that you are connected:
kubectl get nodes
Access the cluster via Kubernetes CLI and Dashboard
You will need the kubeconfig data and certs to connect to your cluster using kubectl. You can download the config to your local machine via the CLI. Issue the following command to download your kubeconfig for a given cluster.
ibmcloud ks cluster-config <cluster_name_or_id>Use the result of the previous command to set the path to your Kubernetes configuration file as an environment variable. For Mac:
export KUBECONFIG=/Users/ibm/.bluemix/plugins...For Win:set KUBECONFIG=/Users/ibm/.bluemix/plugins...Access your Kubernetes dashboard with the default port 8001.
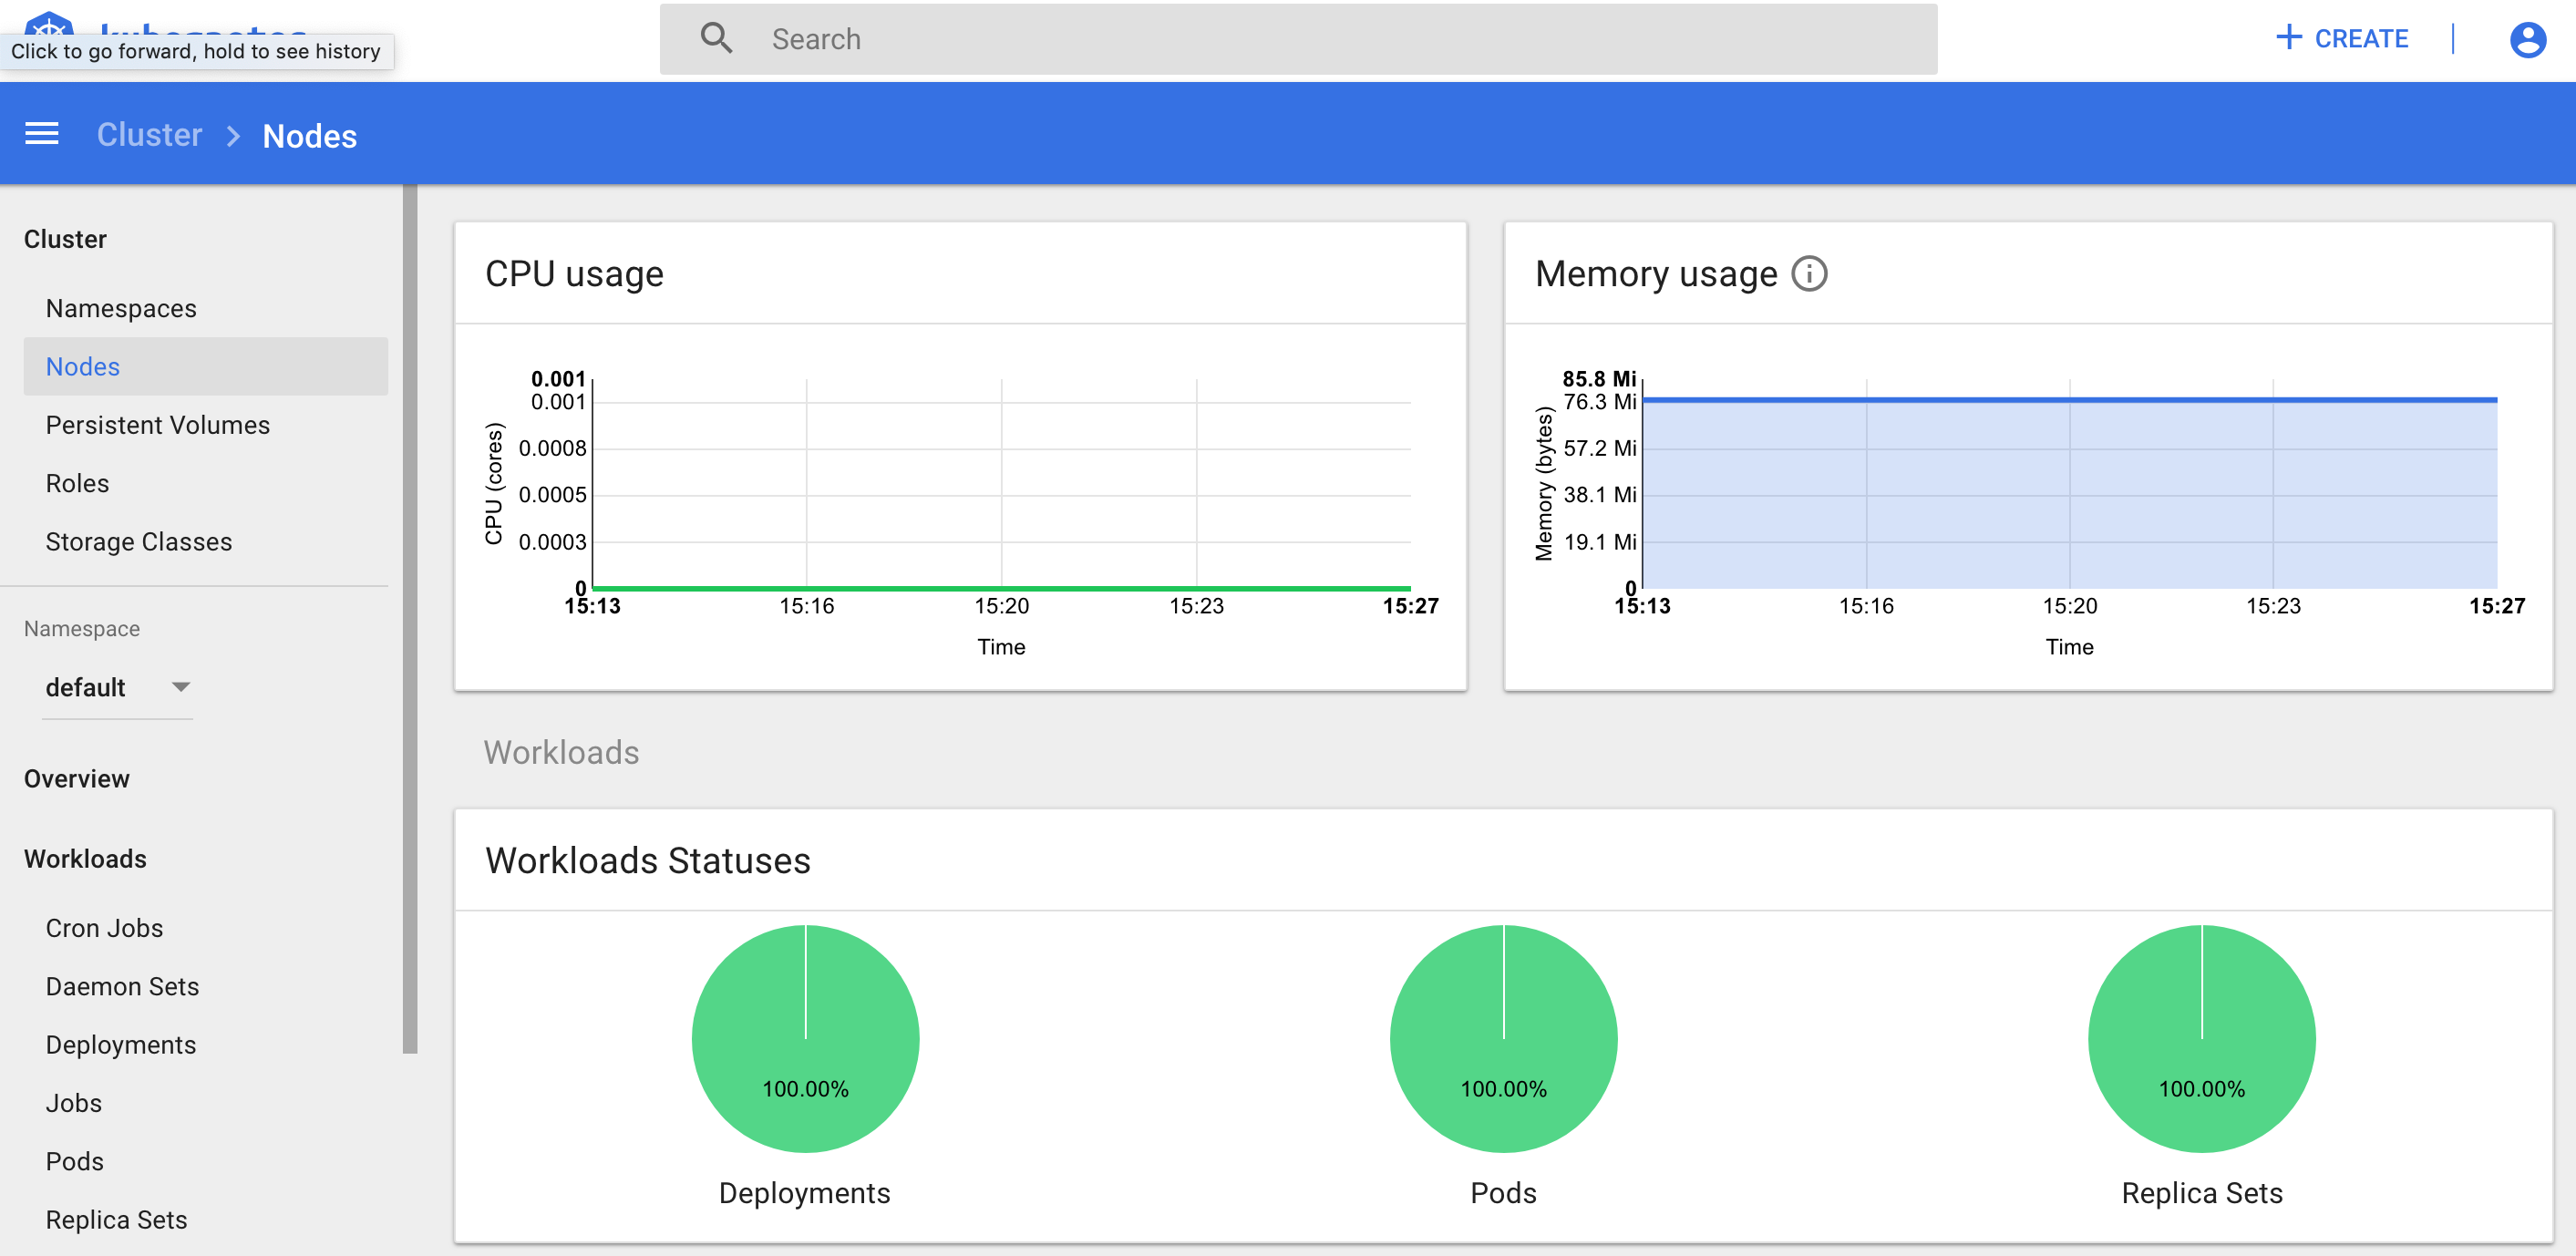
 kubectl proxy
 Starting to serve on 127.0.0.1:8001
Open the Kubernetes dashboard: http://localhost:8001/ui